Configuring Raspberry Pi
1) Install SD card with Raspbian Linux into the Raspberry Pi.
2) Enable sshd (SSH server) on Raspberry Pi (run raspi-config from console).
3) Assign static IP address to Raspberry Pi by editing /etc/network/interfaces with nano. Example configuration:
auto lo

iface lo inet loopback
iface eth0 inet static
address 192.168.1.50
netmask 255.255.255.0
gateway 192.168.1.1

allow-hotplug wlan0
iface wlan0 inet manual
wpa-roam /etc/wpa_supplicant/wpa_supplicant.conf
iface default inet dhcp
4) Add static IP address and hostname of Raspberry Pi into the C:\Windows\system32\drivers\etc\hosts file:
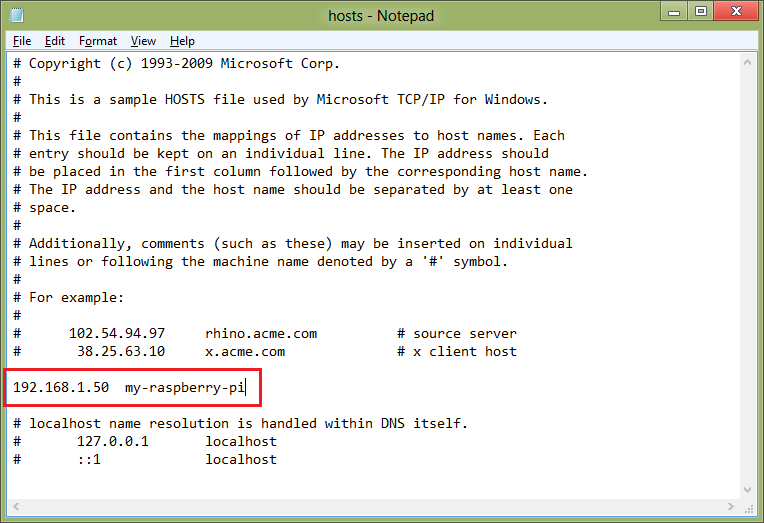
5) Press Win+R, Enter "cmd", "ping my-raspberry-pi" to make sure "hosts" file was saved properly.
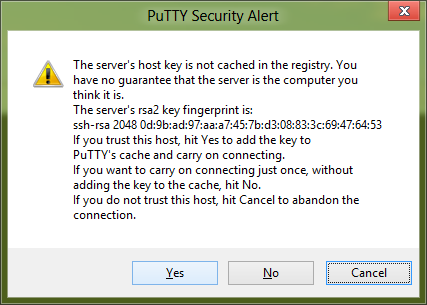
6) Try logging into the Raspberry Pi using PuTTY. If PuTTY doesn't work, there's no point in trying to configure Eclipse.

7) Accept the key (click "Yes").
8) Enter login credentials. Default username is pi and default password is raspberry.
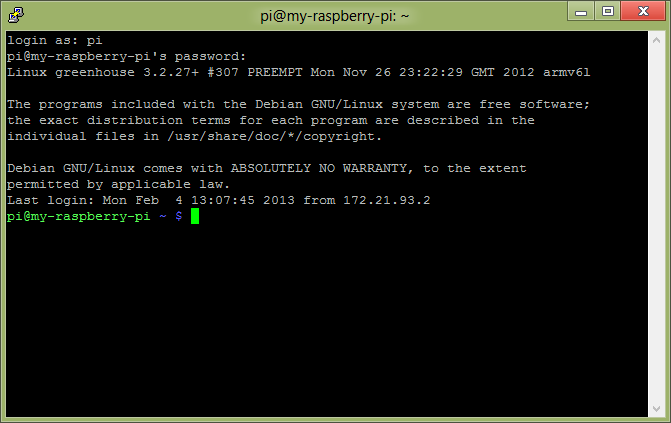
9) Enter the following commands in terminal:
mkdir remote-debugging
cd remote-debugging
touch .gdbinit
exit
10) Upload the file C:\rpi-eclipse\rpi-cross-toolchain\arm-linux-gnueabihf\usr\bin\gdbserver onto Raspberry Pi as /home/pi/remote-debugging/gdbserver. You may use WinSCP or any other SSH upload tool for that purpose.
11) Make sure /home/pi/remote-debugging/gdbserver has exec permissions on the Raspberry Pi (chmod +x /home/pi/remote-debugging/gdbserver).