Setting Up Remote Access In Eclipse

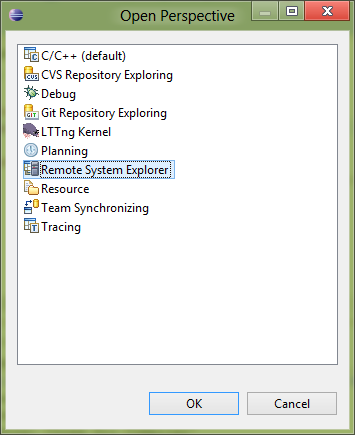
1) In Eclipse, open "Window" -> "Open Perspective" -> "Other..." in the main menu:

Setting up Eclipse for Rasperry Pi Development - Opening Remote System Perspective, Step 1

2) Choose "Remote System Explorer" from the list:

Setting up Eclipse for Rasperry Pi Development - Opening Remote System Perspective, Step 2

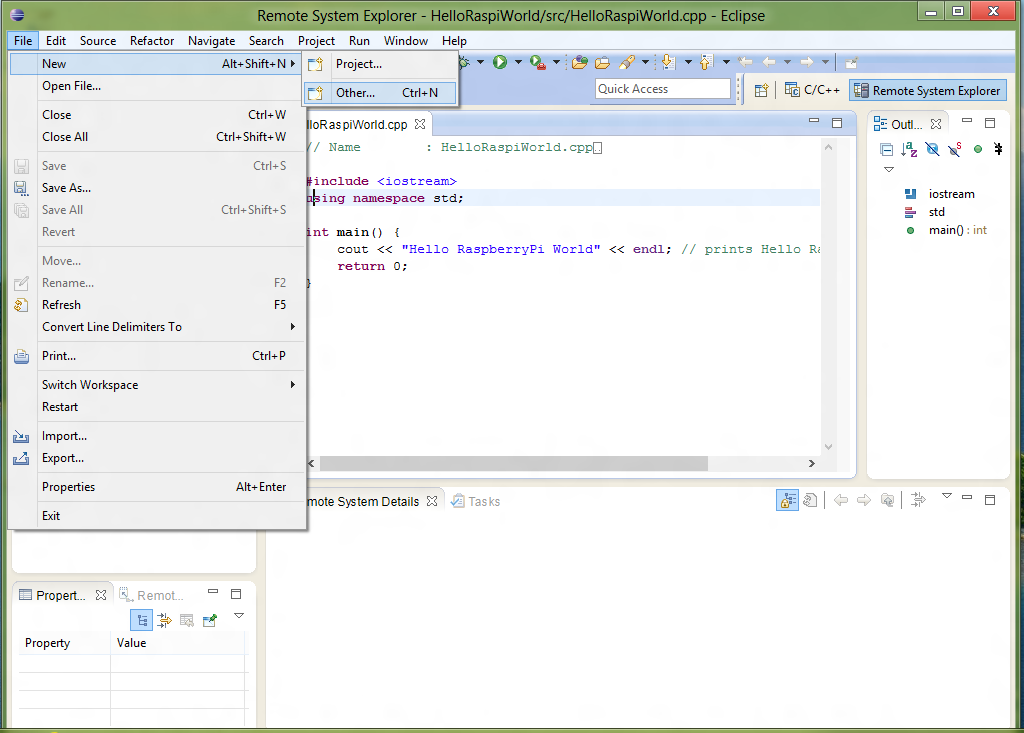
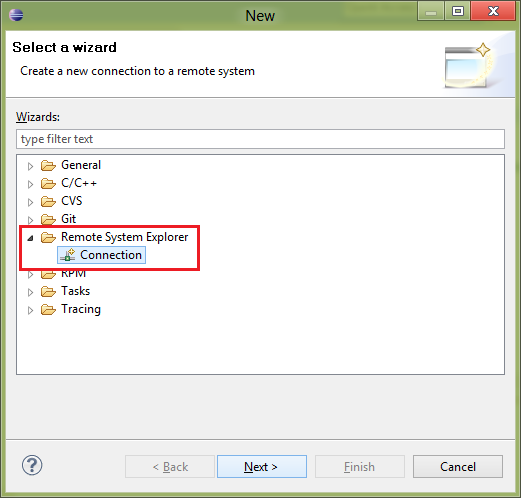
3) Open "File" -> "New" -> "Other..." in the main menu:

Setting up Eclipse for Rasperry Pi Development - Creating Remote System Connection

4) Choose "Remote System Explorer" -> "Connection" from the list and click "Next >":

Setting up Eclipse for Rasperry Pi Development - Choosing Type of Remote System Connection

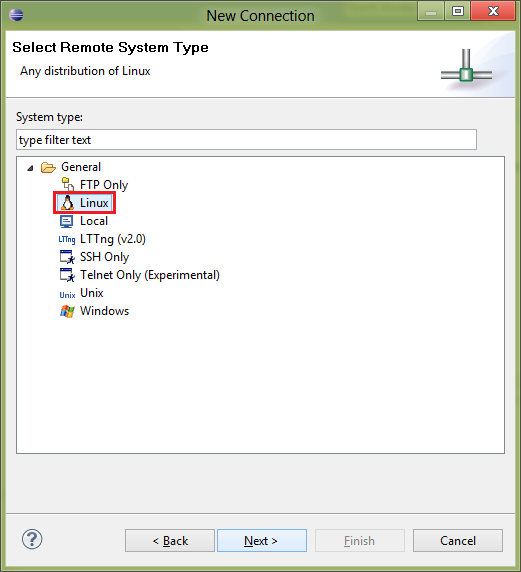
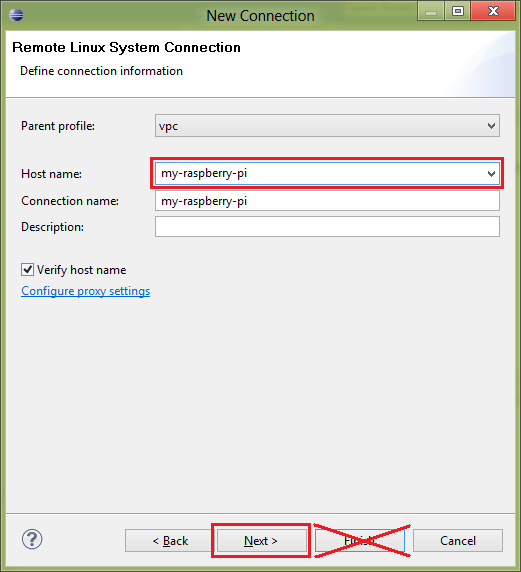
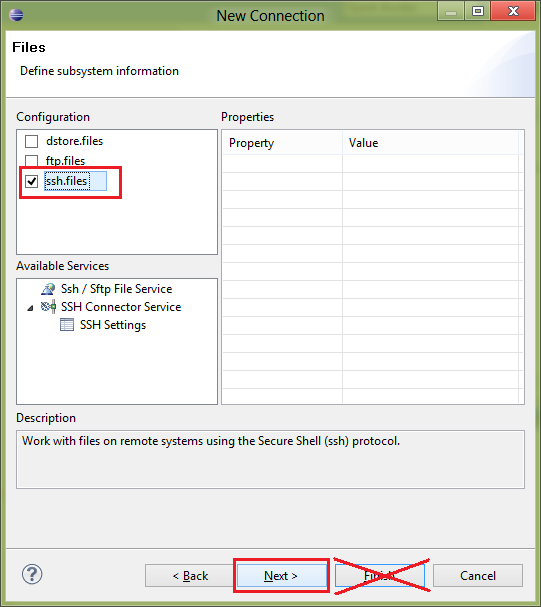
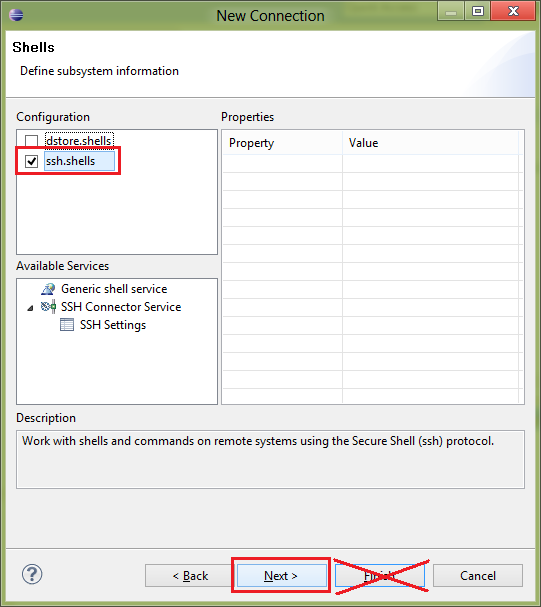
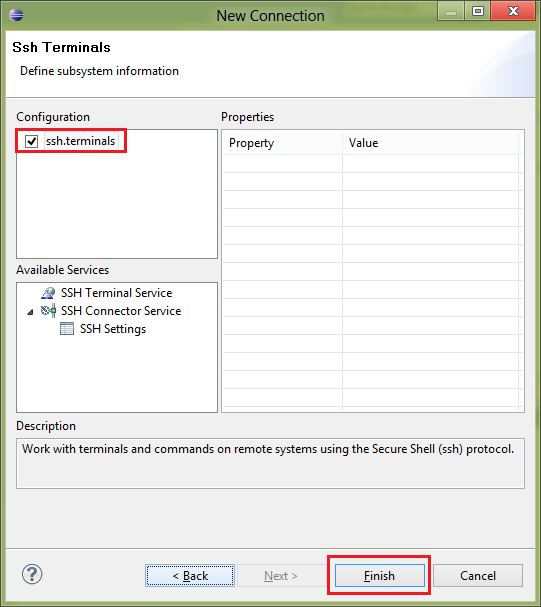
5) Set up remote connection type as shown below:

Setting up Eclipse for Rasperry Pi Development - Setting up Remote System Connection, Step 1
Setting up Eclipse for Rasperry Pi Development - Setting up Remote System Connection, Step 2
Setting up Eclipse for Rasperry Pi Development - Setting up Remote System Connection, Step 3
Setting up Eclipse for Rasperry Pi Development - Setting up Remote System Connection, Step 4
Setting up Eclipse for Rasperry Pi Development - Setting up Remote System Connection, Step 5
Setting up Eclipse for Rasperry Pi Development - Setting up Remote System Connection, Step 6

6) Make sure connection is created successfully. Right-click on the connection name (on the left side):

Setting up Eclipse for Rasperry Pi Development - Remote Connection Created

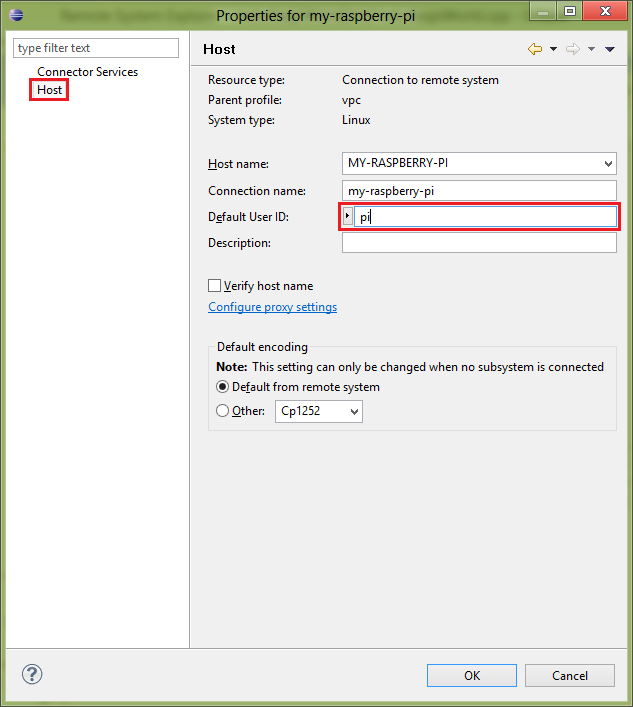
7) Choose "Properties" in the pop-up menu:

Setting up Eclipse for Rasperry Pi Development - Remote Connection Properties

8) Click "Host" on the left side, then change Default User ID to "pi". Then click OK to close the window:

Setting up Eclipse for Rasperry Pi Development - Remote Connection Properties - Changing User Name


>> Read next section