Setting Up Cross-Compilation In Eclipse
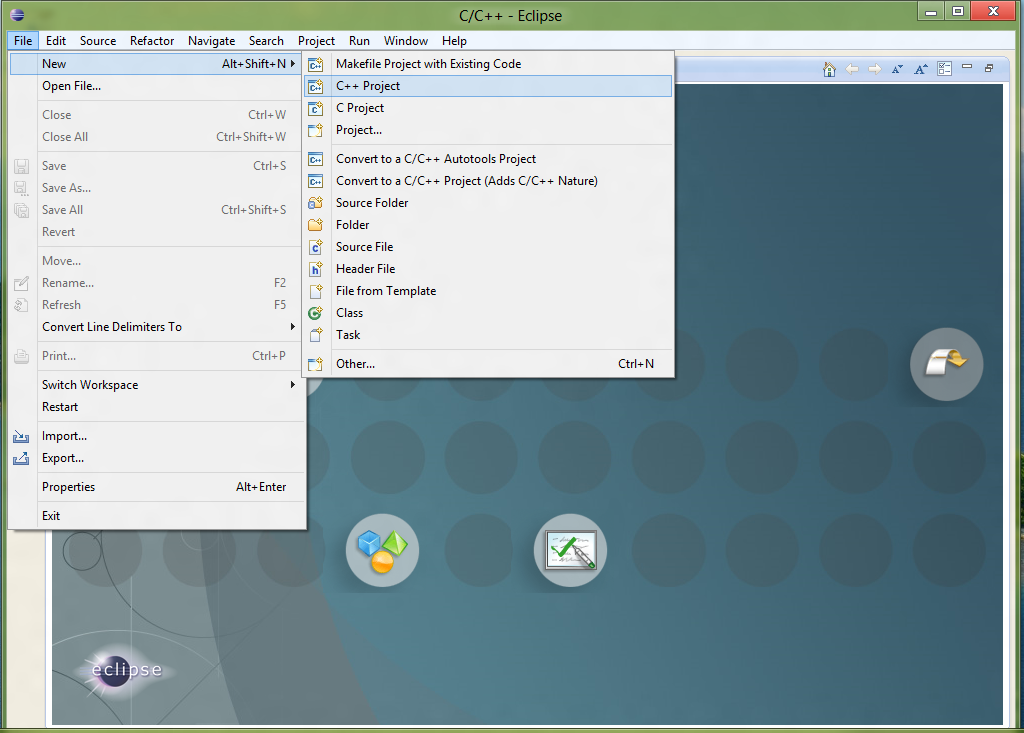
1) In Eclipse, open "File" -> "New" -> "C++ Project" in the main menu:
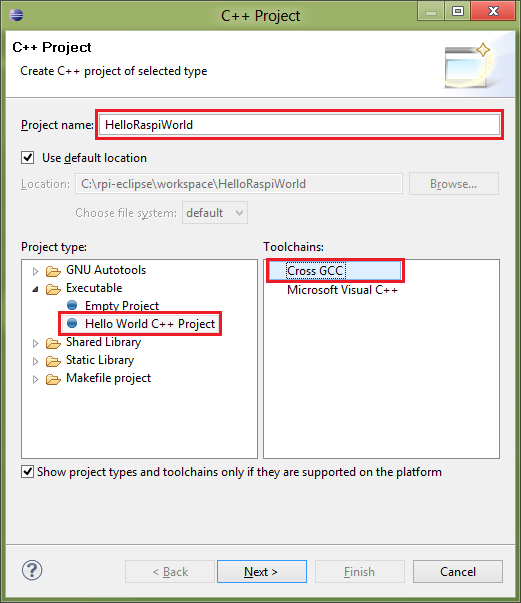
2) Enter the name of your project (HelloRaspiWorld in this example), choose non-empty template and make sure to specify "Cross GCC" toolchain:
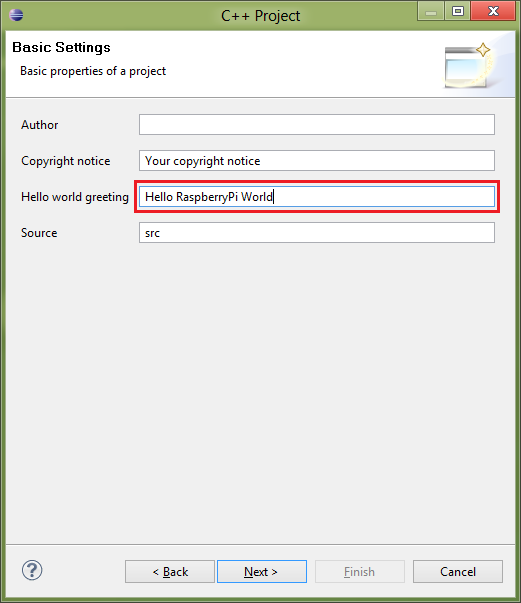
3) Change "Hello World Greeting" and click "Next >":
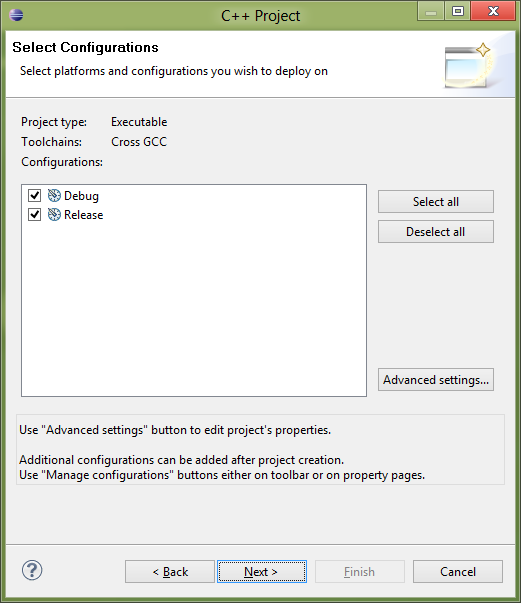
4) Leave project configurations as is (click "Next >"):
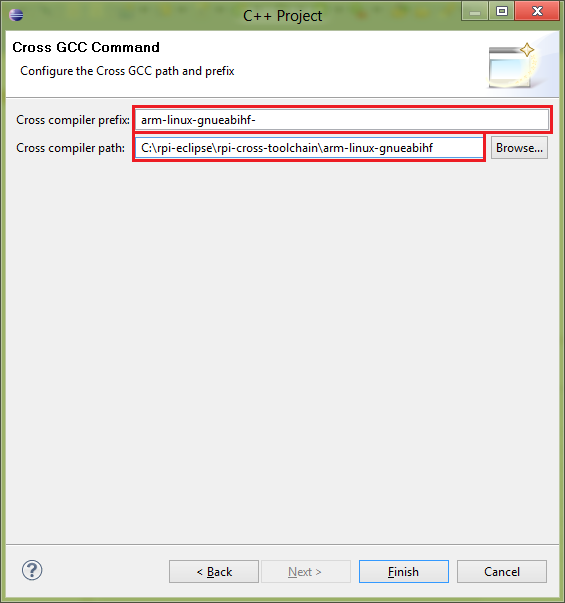
5) Set cross-compiler prefix as "arm-linux-gnueabihf-" and cross-compiler path as "C:\rpi-eclipse\rpi-cross-toolchain\arm-linux-gnueabihf".
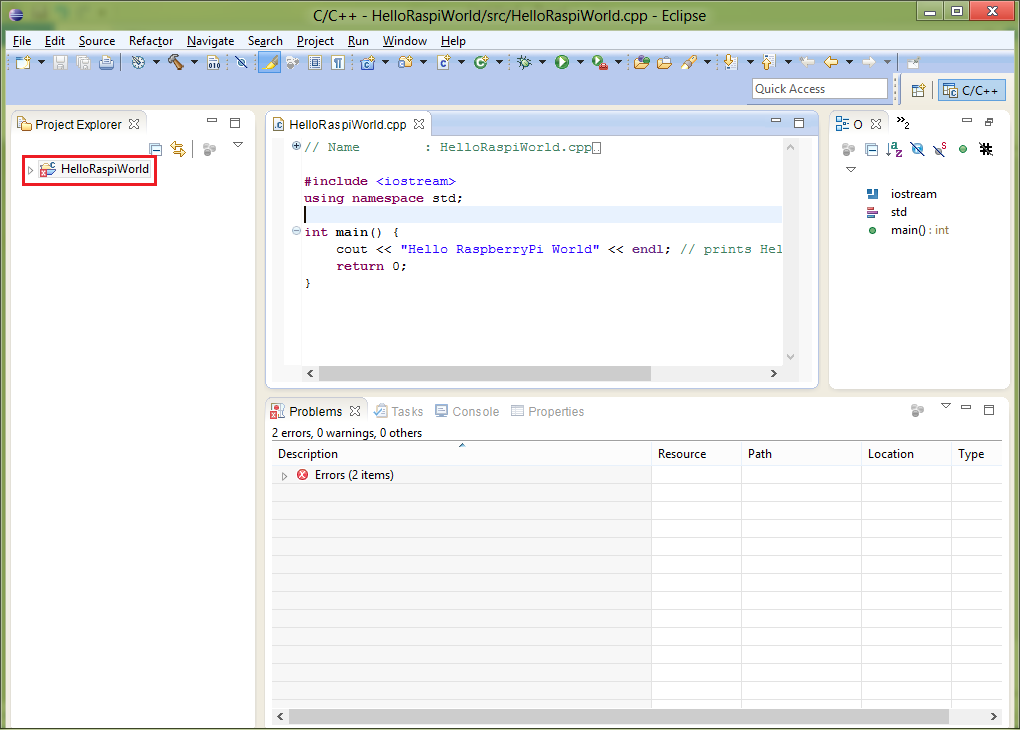
6) Make sure project is created successfully. Right-click on the project name (on the left side):
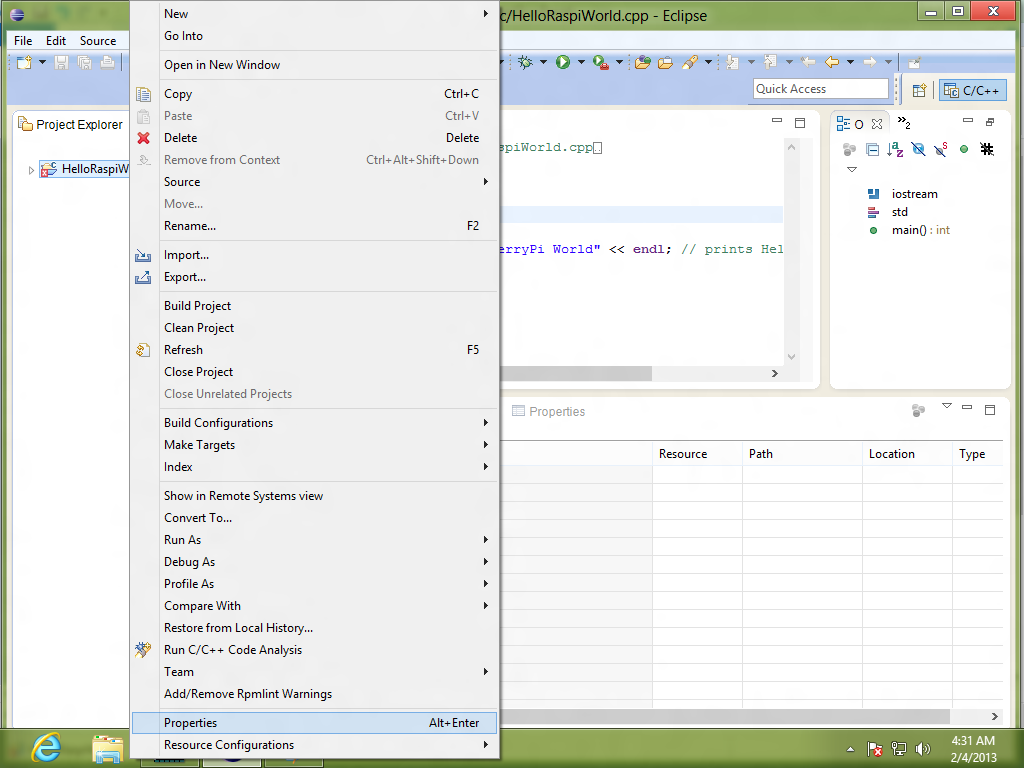
7) Choose "Properties" in the pop-up menu:
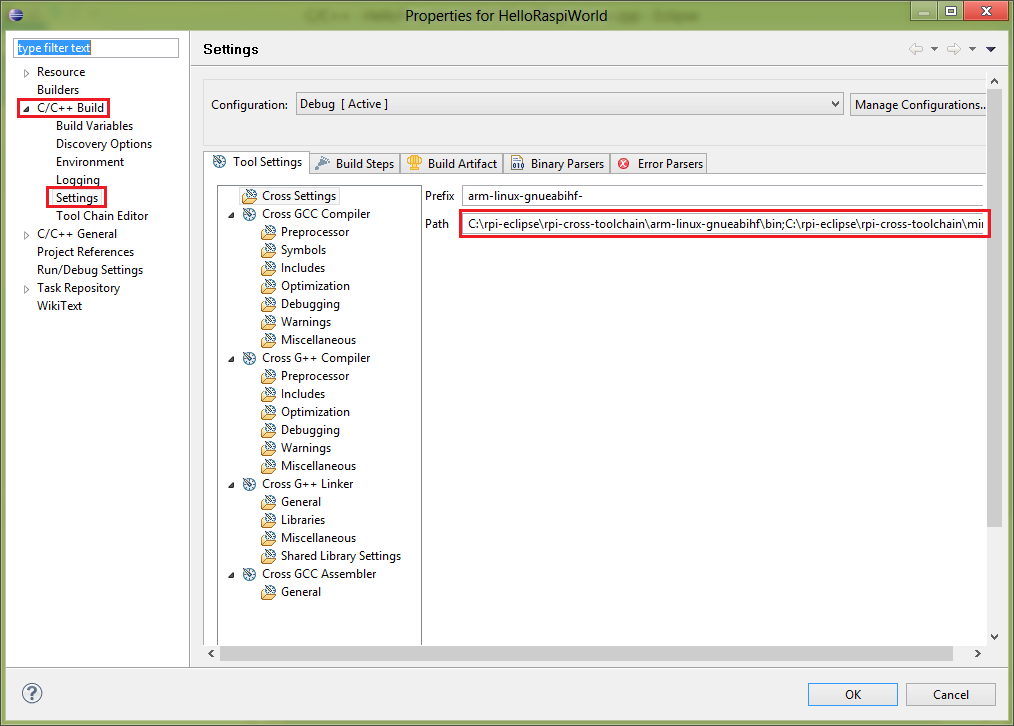
8) Open "C/C++ Build" -> "Settings" on the left side, then in the "Tool Settings" tab, in the "Cross Settings" screen, make sure Path is "C:\rpi-eclipse\rpi-cross-toolchain\arm-linux-gnueabihf\bin;C:\rpi-eclipse\rpi-cross-toolchain\mingw-make". You may copy and paste it for your convenience (select with mouse, Ctrl+C, Ctrl+V). Click "OK" when done:
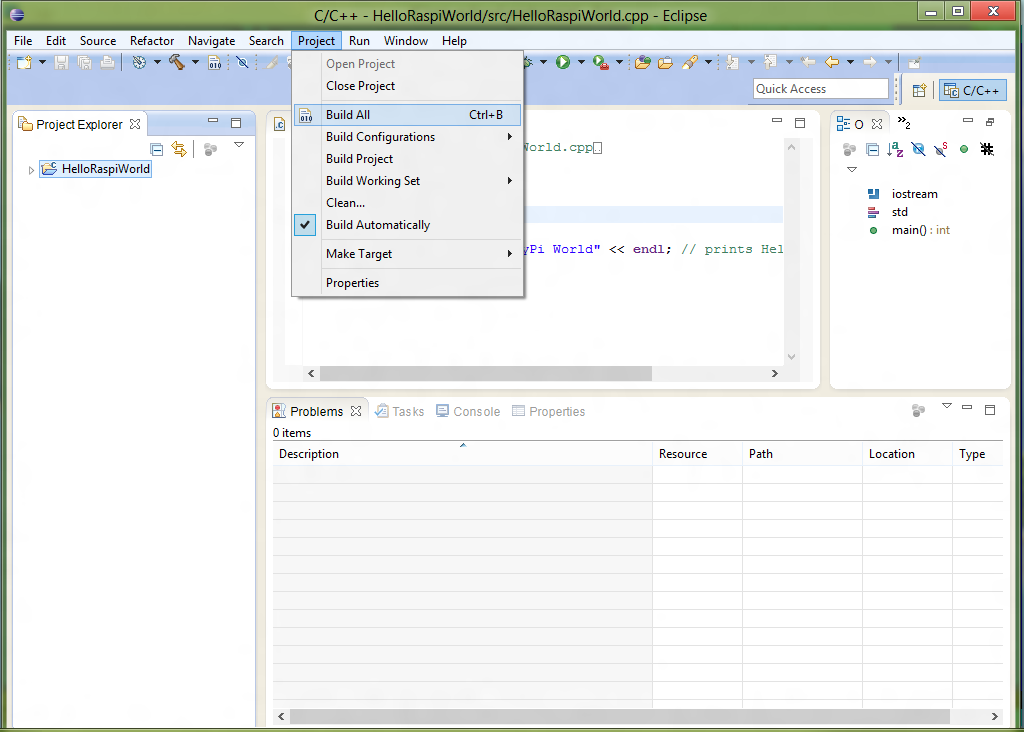
9) Click "Project" -> "Build All" (or "Build Project") in the main menu:
10) You may want to check console to make sure there are no errors:
